Sunday, November 18, 2018

Weekend Game

I am attempting to keep the storyline of my first 18th Century Imagi-nation free of of commentary, so will make separate commentary posts.  I'm using v1.6 of the rules posted to the "Pages" section of this blog.  I have found significant errata which I have marked in my printed copy.
There are two errors  in the table outlining results of rolls.  The categories should read "6 or less", "7 to 9", and "10 or more".  Also artillery should have a base shooting value of 0, since they have been penalized for targeting units beyond 1/2 of their max range.  Previously they had a bonus for close-in shooting, but a base value of -1.
From playing the 2nd campaign game I learned:
Don't take a break until a turn is completely finished.  I think I might have shorted Red their half of a critical turn.  That could have been significant in their loss.......
Artillery can be extremely effective if used correctly and defended.
Cavalry is very effective.  Perhaps a negative modifier should be applied when frontally charging professional infantry.
Having more initiative points is both a blessing and a curse.  In the early part of game 2, Red rolled for initiative much better.  Maybe it was my poor generalship, but it seems that I over-extended the Red lines, while Blue sat in a defensive position and waited for their opportunity.
Keeping the general alive is crucial.  Without a general, all activations cost 2 initiative points and rallying is impossible.  The momentum might have been with Blue when Red's general was eliminated, but it was essentially a done-deal after.
I need to write down conditions for ending a battle.  In the campaign games, I have been using the elimination of more than 1/2 of the units.  I have not been counting the general in the count.
I am always open to questions/comments about the rules.  If you ever play a game using my rules, or have questions about the miniatures, please reach out.

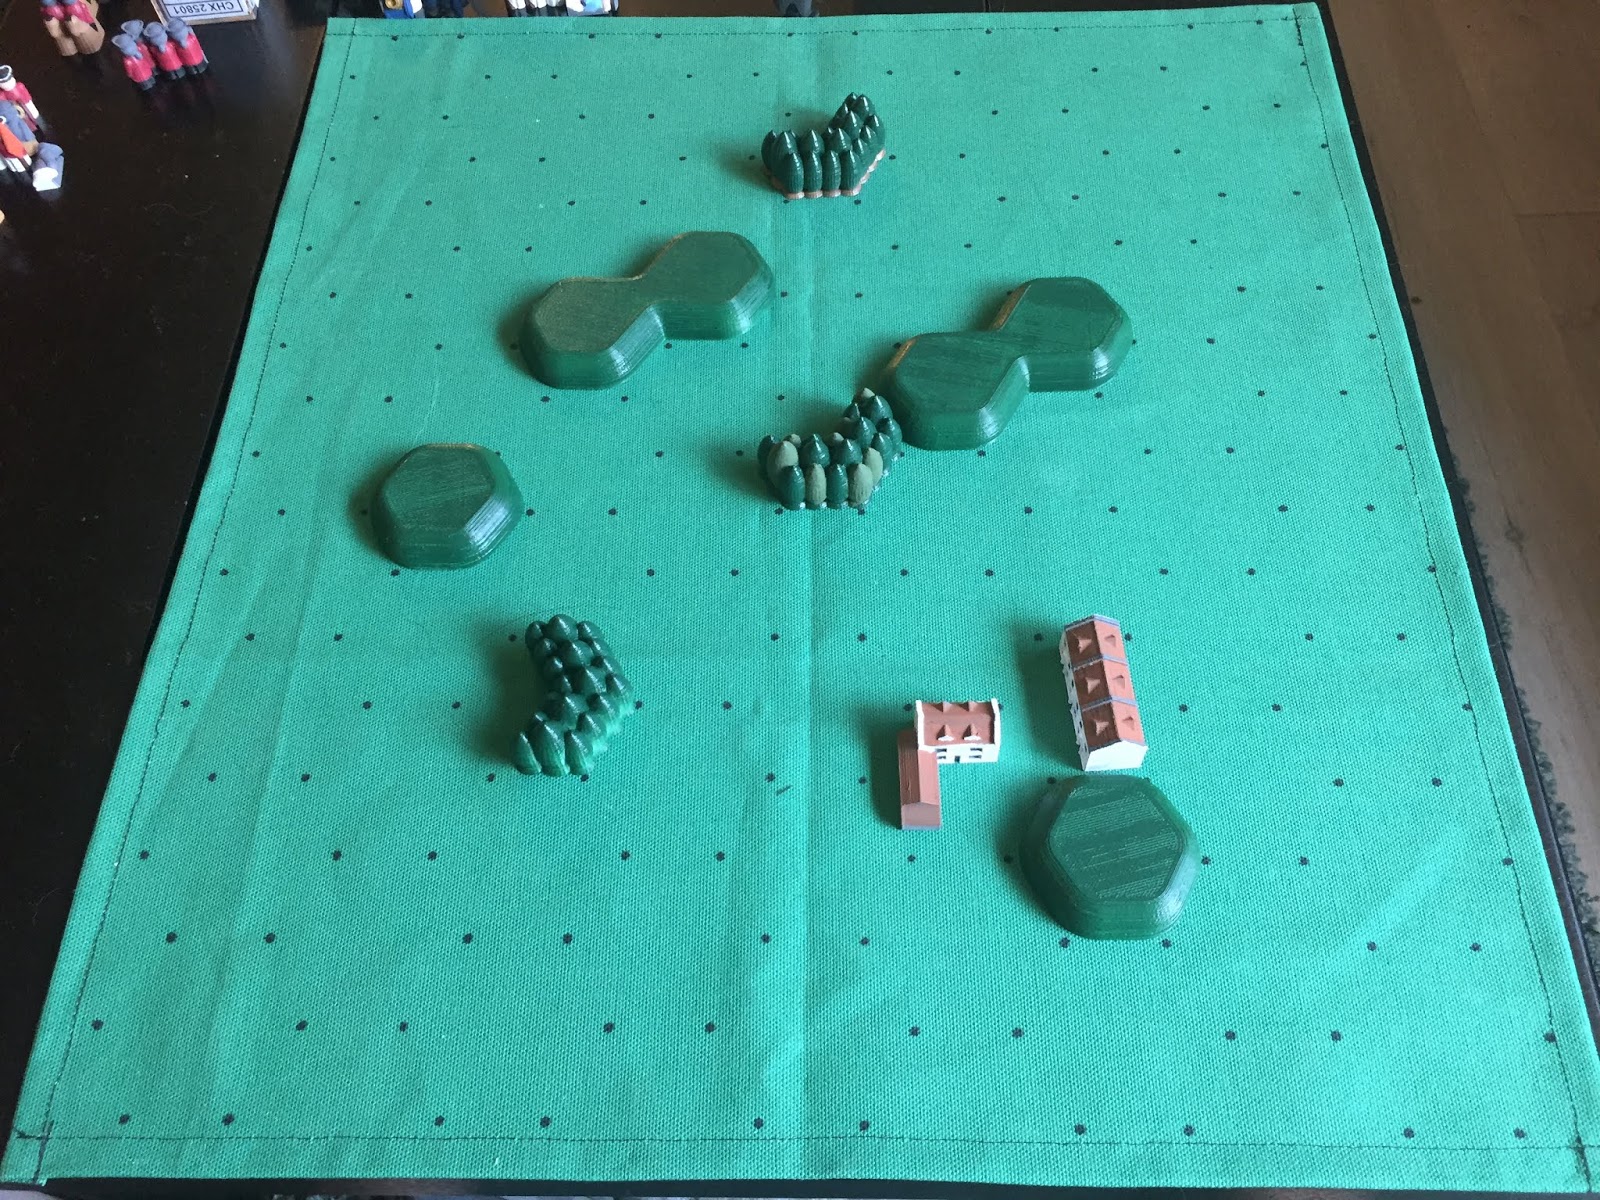
A few pictures taken, but not used in game 2.
Red's cavalry rolls modified 10+ causing disorder and retreat

Militia (gray) rolls modified 10+ and eliminates regular infantry

Pressing the Attack

After successfully halting the Red Army's advance, The King of the Five Rivers ordered his army to press into the Red Kingdom.  The fleeing red army was caught mustering just outside of a hillside town near a strategic ridge.  Since the last battle, the Red Army was able to replace a unit of dragoons lost in the previous battle.  Their army remained somewhat bruised.  Two regiments of regular foot were unable to replenish their losses and the third regular regiment was dissolved after immense losses.  The Army of the Five Rivers did not suffer near as significant casualties, but one cavalry regiment and one regiment of foot continued the campaign significantly under manned.
Town in Red Kingdom, just south of the foothills
The Red Army's recruitment efforts were in vain as their newly reformed dragoon unit's column would not be participating in this battle.  The Army of the Five Rivers fielded the same columns from the previous battle, hoping to repeat their success.

Red Army's Order of Battle
Army of Five Rivers's Order of Battle

The Rivermen descended through the foothills to meet the Red Army who have decided to defend the town with infantry and use their superior number of guns to batter the Rivermen as they come out of the hills.  Meanwhile, the Army of the Five Rivers has decided to take up defensive positions on the far hill, with their artillery able to bombard the Red Army's left flank.

Positions at the end of turn 2
The opening salvos of artillery proved generally ineffective for both sides, despite the Rivermen's general putting his battery in a better position.  Enticed by the prospect of charging an irregular infantry unit, the Red cavalry swept wide into the Rivermen's exposed left flank.  

Positions at the end of turn 3
Poorer tribes of the Five Rivers generally organize their troops into Highlander units, choosing to emphasize individual marksmanship over drilled maneuver.  Shooting from the forests, one Highlander band took pot shots at the Red Army's general, to no effect.  Seeing the Red infantry advancing and fearing a cavalry charge, the other Highlander band retreated to the safety of a nearby wood.
Positions at the end of turn 4
The Red Army's artillery continued to be ineffective against the Rivermen's artillery positioned on the far hill, but the Rivermen's artillery shelled the dismounted dragoon unit on the Red Army's left flank.  The far left flank of the Rivermen line advanced and fired a fatal volley to the dragoons as they threw down their muskets and fled.  The Rivermen line also caused panic and disorder in the regiment of horse on the hill, while the forward highlander band was able to cause disorder in the regiment of foot with the Red general attached. After sustaining a downhill cavalry charge, the highlanders were forced out of the forest by a determined militia.  While distracted by the action in the center-right, the general of the Army of the Five Rivers failed to notice a regiment of horse swinging towards his right flank. 

Positions at the end of turn 5

As the bloody day wore on, the Rivermen's artillery on the hill continued to batter the Red Army.  The battery fired on the only remaining regiment of Red foot.  A cannonball bounced through the line, striking the enemy general in the chest.  The regiment panicked and fled the field, carrying their general's body on the back of his horse.  In a fit of rage, and attempting to regain the initiative, the cavalry in the Rivermen's flank charged a regiment of foot from the rear, causing a retreat away from the cavalry and towards the Red lines.  Seeing the panicking regulars advance towards their position, the town's militia fire a crippling volley as the regulars turn and run.  Seeing the panic in the Red Army at the loss of his counterpart, the Rivermen general orders a general advance of his remaining line infantry.  The regiment on the far right squares up on the successful Red cavalry. Their volley causes the cavalry line to fall to disorder and ride out of range.  

Positions at the end of turn 6
The battery defending the right side of what remained of the Red finally saw some success as it fired and enfilading volley at the right-most regiment of the Rivermen line.  The Rivermen's apparently invincible artillery survived a rear charge from a regiment of foot, but did become disordered.
Positions at the end of turn 7

Both batteries continued to be effective as the forwardmost highland band was forced to retreat from the woods and the regiment of horse, sent to bolster the militia, sustained significant casualties.  Having kept the cavalry in reserve, The fresh Rivermen cavalry delivered a fatal charge to the flagging enemy cavalry.  Seeing their cavalry flee, the remnants of the Red Army turned and ran downriver towards their capitol.


Monday, November 12, 2018

Battle at the Border

As the Red King's Army crossed the border, The new King of the Five Rivers mobilized his forces and sent them south to meet the invaders.  The two armies met outside of a small farm near the border.  The Army of the Five Rivers was determined to defend the farm and repel the attack.
Before the armies arrived
 As the armies meet, they deploy into battle lines.  The cautious Red Army's general locates himself with his battery, while his daring opponent occupies the farmhouse to assure the citizens that all well be ok. In the opening moves, The Five Rivers' artillery opens fire on the Red Army's right flank, causing disorder in the regular infantry's ranks and causing a retreat onto higher ground.  The Five Rivers' impetuous cavalry attempted to finishes off the disordered infantry but was disordered and subsequently retreated away from the the Red lines under withering fire. Depleted of momentum and suffering heavy casualties, they would run from the battlefield.
Position at the end of Turn 4

As the battle progressed, the lines solidified and as infantry exchanged volleys.  The Red Dragoons remounted their horses and attempted to flank the enemy's infantry, but are thwarted by the stalwart northern line infantry.  The northern general vacated the farmstead, choosing to reinforce his irregulars on the front lines.  He orders the artillery on his left flank onto the hills to gain an advantage over his enemy between the hills, but things aren't looking too good for the Red Army either, as both of their right flank regular regiments have fled and militia has been called up to secure the flank.
Positions at the end of Turn 6.
Red's Dragoons continued to harass and disorder their enemy's right flank, causing panic and disorder, but taking some losses themselves.  The Army of the Five River's left flank continues to take losses from close range artillery fire.  Although more of the Red Army's units have fled, they appear to be in a much better position.  The Army of the Five Rivers' lines are broken, their weak in melee irregular troops are exposed, and their cavalry have fled, leaving them exposed to artillery barrage.
Positions at the end of Turn 7
The Rivermen's general expertly commanded his right flank infantry and routed the enemy dragoons. After losing the dragoons, The Red general ordered the militia to advance and destroy the Rivermen's battery on the hill.  They came under fire from both the militia on the hill and the Rivermen line infantry which had been fought back into cover of the farmstead.
Positions at the end of Turn 9
Things are looking very grim for the Rivermen at the conclusion of Turn 9.  Their lines have almost collapsed backwards on themselves and the Red battery remains intact.  The Red general, eager to exploit the broken lines sends a unit of regular infantry around the hill on his left flank in an attempt to replicate the success of the now routed dragoons.
Positions at the end of Turn 12 Final
The infantry attack around the hill was not meant to be.  The Army of the Five Rivers' general anticipated it and positioned a unit of irregulars on the hill where they would be less vulnerable to a bayonet charge.  They and their other infantry counterparts were able to route the would be flanking force.  At this point the Red Army lost its will to continue the fight.  Their general ordered a general retreat.

Sunday, November 11, 2018

Campaign Setup

Having played one game of the campaign, I figured I should write the setup and first battle report before moving on to the second. Being a mapless campaign with miniatures not painted with any historical force in mind, I suppose this will be a Imagi-Nation Campaign.

Somewhere on a largely fictional continent, many small streams flow out of a largely impassable mountain range and flow into a mighty river, ultimately reaching the sea in a protected harbor. The lower half of the river is held by the Red King.  The lower river valley is fertile and relatively flat, allowing for massive cash crop plantations and horse breeding farms.  Being a rich and largely agricultural kingdom, the Red King's army relies heavily on its cavalry.  The majority of the working class men are needed to ensure an abundant harvest. The Red Kingdom's army, in local custom, is made up of three columns of four units.
The first column, a cavalry column: 2x cavalry regiments, 1x artillery battery, and 1x dragoon regiment.
The second column, an infantry column: 2x regular foot regiments, 1x provincial militia, and 1x artillery battery.
The third column, an infantry column: 1x dragoon regiment, 2x regular foot regiments, and 1x provincial militia.

Upstream of the Red Kingdom's fertile fields lie the mountains, forests, and tributaries of the Kingdom of Five Rivers.  Although the main river carries the wealth of the upper kingdom to markets, the majority of the wealth comes from the higher elevations.  The Kingdom of Five Rivers was not always unified under a single dynasty.  Steep mountain cliffs isolate the upstream tributaries, leaving the people who live along the banks of the tributaries dependent on the rivers for transportation around the mountains and to other valleys.  The Army of the Five Rivers mirrors relative isolation of the tribes which settled on the upper tributaries.  Each of its columns retains some ties to the tribes from which it is drawn.
The first column, from a wealthy southern tribe: 1x cavalry contingent, 1x regular foot regiment, 1x citizen militia, and 1x artillery battery.
The second column, from a northern tribe: 1x cavalry contingent, 1x regular foot regiment, 1x citizen militia, and 1x artillery battery.
The third column, from highland rabble: 2x regular foot regiment and 2x irregular infantry contingents.

The Red Kingdom and the Kingdom of Five Rivers find themselves at war.  Several years ago, in an attempt to usher in a period of cooperation and mutual prosperity, the Crown Prince of the Five Rivers was married to The Red King's eldest daughter.  Shortly after ascending to his father's throne and before producing an heir, the young king was found dead in his palace.  The Council of Chiefs convened to determine the young king's successor. The council selected the deceased king's cousin, but the Red King believing his daughter to be the rightful ruler of the Five Rivers sent an envoy to convince the Council of Chiefs to install his daughter as queen.  On the deceased king's cousin's coronation day, the Red Army crossed its borders, prepared to install their princess as ruler of the Five Rivers, by force if necessary....

Minor Change of Plans

As stated in my last post, we had planned on being camping this weekend.  We live in Southern California which has generally comfortable weather, but is somewhat prone to forest fires in the dry seasons.  Thursday evening a small fire broke out in the hills on the way to the campground we had reservations for.  By Friday afternoon the interstate we had planned on taking was shut down and it looked like the alternate route would be impacted shortly.  Friday at noon the fire was 8,000 acres, by 2 PM on Friday the fire had grown to 14,000.  As I type early Sunday morning it is now 80,000 and within 5 miles of the campsite we had booked.  So as you may have guessed, we stayed home.  Although we thoroughly enjoy camping and haven't gotten out as much as we would like, we're safe at home and upwind of most of the smoke plume (for now).
Staying home means progress on the wargames front though.  Late Wednesday my lovely wife sewed the edges of a small piece of duck cloth.  I then used a template and permanent marker to mark the corners of the hexagons for the map.  There are 9 rows of 8 or 9 hexagons.  Close ups of mat below.
Close up of mat with partially painted miniatures

Mat on coffee table

Template made from 4 pieces of printer paper taped together


Mat on an End Table (How's that for Compact!)
I am satisfied with the outcome of this mat.  I think it will serve me well for the foreseeable future.  I did realize as I was drawing the dots that only a few more rows and I would have had a mat compatible with a compact Commands and Colors map.  I do have enough scrap to make another that would be compatible, assuming I stick with 2" hexes. 

Wednesday, November 7, 2018

Tug-O'-War Campaign

This campaign setup is based on Bluebear Jeff's (saxe-bearstein.blogspot.com) work.  I have hopefully reduced the number of games that would be played in the campaign to increase the likelihood that I can make it through a campaign in a weekend.  I will be making a campaign supplement to my rules and using this as a starting point. 
For the campaign I will try to fight this weekend each nation will have at their disposal: 4 regular, 2 militia, 2 cavalry, 2 artillery, and 2 dragoon units.  These units will be divided up into 3 columns of four units, per v1.6 rules.  In each game only 2 columns will engage.  The third column will still have the chance to move disordered troops to ordered as described in the rough draft of a maples campaign ruleset below. 


A simple mapless campaign can be devised using a tug-o-war mentality.  The “front lines” begin at the center of the five positions.  A battle is fought at this position.  The winner moves the “front lines” marker one position closer to the opponent’s baseline. 


After every battle: All eliminated or disordered units roll 1D6.  Units move from eliminated to disordered to ordered by one position if; Units on winning side roll 3+, Units on losing side roll 4+.  Eliminated units which fail to move to disordered are permanently eliminated from the campaign.  Disordered units carry their disorder to the following battle.  Winner will choose which side to play in following game.
Attacking the enemy's position B: The defending force receives 1 new unit at full strength.
Attacking the enemy's position C: The defending force receives 1 new unit at full strength, and all disorder is removed. 
Any winner of 2 consecutive battles: Choose 1 new unit or remove all disorder from existing troops.
Any winner of 2 consecutive battles:  Commander is upgraded one position towards elite.
Any loser of 2 consecutive battles:  Commander is downgraded one position towards incompetent. 

Determined to Get Some Games In


I’m going camping on the beach this weekend and think I’ll have some time for a series of games.  v1.6 seems stable enough that I could probably manage a small campaign over the course of a camping weekend.  I’ve got a red army and a blue army somewhat painted.  Each features 4 regular infantry, 2 cavalry, 2 artillery, 2 dragoon, and 2 irregular units with 4 militia units unassigned to any particular army.  The dragoons, irregulars, and militia are in various states of paint, with some being near completion and others mostly primer gray. 


I have also been busy on the terrain front.  I have digitally designed and printed prototypes for hills, forest, forested hills, 3 types of built-up-areas, a road system, a river system, and the fords/bridges to make the two work together.  Unfortunately, my 3d printer had a malfunction that caused a part to fail.  The part is relatively cheap on its own, but my printer is a few years old, and the newer models can get very good quality at a lower price.  I have convinced myself that if I could sell my existing printer at a reasonable price, I would buy a new printer.  The new printer should be less likely to nickel and dime me on repairs like my current printer does.  I’ve been attempting to sell my printer, but there doesn’t seem to be much of a market for used printers in my area.  I’m also somewhat concerned that I’m going to lose my printing space in a few months.


Against my better judgement, and ignoring previous experience, I purchased a small piece of green duck cloth and am in the process of sewing the edges to prevent unraveling.  After that is complete I will be marking the corners of the hexes with a permanent marker.  Hopefully there will be enough contrast to make the hexagon pattern easily visible.  I had previously used a large sheet of paper and marked the corners with a pencil, but have decided I’m ready for something a little more permanent.  We’ll see if it turns out better than my last experiment.  Click “Hex Grid Failure” if you want to read about that debacle.